
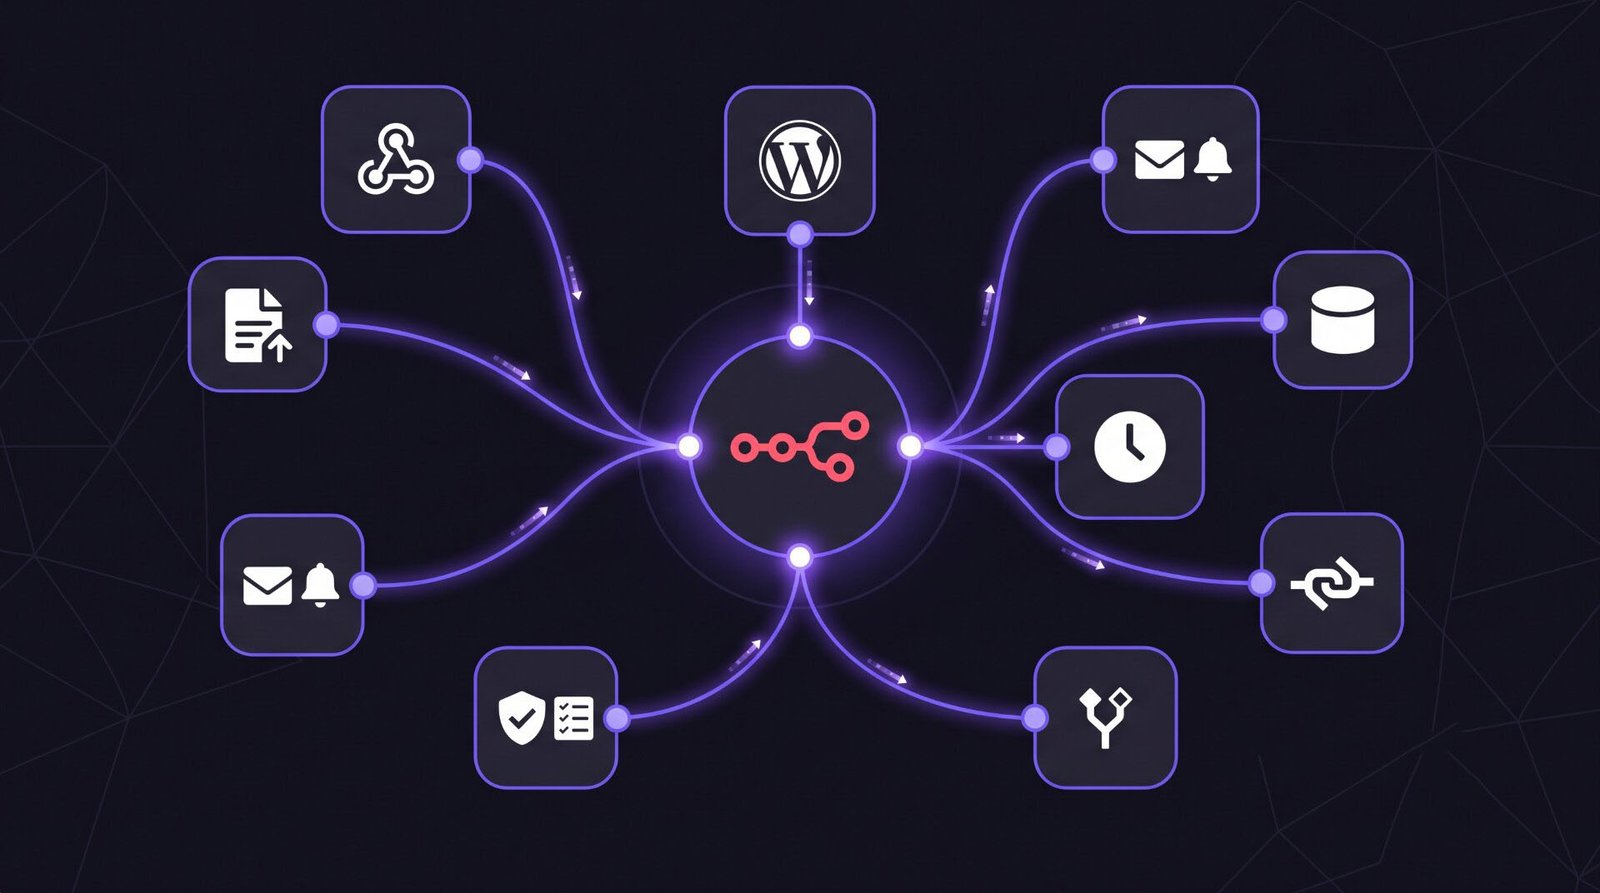
Most “WordPress automation” content online is either a Zapier ad or a vague list of “5 ways to automate your WordPress site” that never actually shows you how. This is neither. This is the actual setup I use to connect n8n to WordPress sites I manage, including the parts that don’t work the way the documentation implies they will.
Why n8n Instead of Zapier or Make
I switched to n8n for three practical reasons:
- Self-hosting — I run it locally via Docker connected to Ollama for local AI processing, which means no per-task pricing and no sending client data through a third party’s cloud.
- REST API flexibility — n8n’s HTTP Request node handles WordPress’s REST API more predictably than Zapier’s WordPress-specific integrations, which are often limited to basic post creation.
- Custom logic nodes — Zapier’s branching logic gets expensive and clunky fast. n8n’s Code node lets you write actual JavaScript when a workflow needs real logic.
The tradeoff: you’re managing your own infrastructure. If you don’t want to touch Docker or a VPS, this guide isn’t for you — Zapier will get you 80% of the way there with far less setup.
Prerequisites
- A WordPress site with the REST API enabled (default in modern WordPress)
- Application Passwords enabled (Users → Profile → Application Passwords — built into WordPress core since 5.6)
- n8n running (self-hosted via Docker, or n8n Cloud if you’d rather skip hosting)
Step 1: Generate a WordPress Application Password
Go to Users → Your Profile in wp-admin, scroll to Application Passwords, and generate a new one named something like n8n-automation. WordPress will show you the password once — save it immediately, it won’t be shown again.
This is safer than using your actual login password in n8n, and you can revoke it independently if needed without changing your main credentials.
Step 2: Connect WordPress in n8n
n8n has a built-in WordPress node, but I’ll be honest — it covers basic operations (create post, update post, get posts) and not much else. For anything beyond that, you’ll want the HTTP Request node pointed directly at the REST API:
Base URL: https://yoursite.com/wp-json/wp/v2/
Authentication: Basic Auth
Username: your-wp-username
Password: [the application password from Step 1]
Practical Workflow #1: Auto-Publish From a Content Spreadsheet
This is the workflow I use most often for clients who batch-write content in Google Sheets or Airtable and want it published on a schedule without manually copy-pasting into WordPress.
Trigger: Schedule node (runs daily at 9 AM) Node 2: Google Sheets — read next unpublished row Node 3: HTTP Request — POST to /wp-json/wp/v2/posts with the row’s title, content, and status set to publish Node 4: Google Sheets — mark the row as published (prevents duplicate posting)
The part that trips people up: WordPress’s REST API expects content as raw HTML, not Markdown. If your source content is in Markdown (common if you’re using Claude or ChatGPT to draft posts), you need a conversion step before the HTTP Request node — I use a Code node with a simple Markdown-to-HTML function rather than relying on WordPress to interpret Markdown syntax, which it won’t do by default.
Practical Workflow #2: Contact Form Notification Routing
For a client’s Gravity Forms setup, instead of relying solely on WordPress email notifications (which frequently land in spam), I built this:
Trigger: Webhook node (Gravity Forms has a built-in webhook add-on that POSTs form data on submission) Node 2: Code node — parse and format the incoming form fields Node 3: Branch based on form field values (e.g., route “Enterprise” inquiries differently from general contact) Node 4: Send to Slack channel + send formatted email via SMTP node
This solved a real problem: the client was missing leads because notification emails were inconsistently landing in spam folders. Routing through Slack as a second channel meant leads got seen even when email delivery had issues — which, separately, is worth fixing at the DNS level with proper SPF/DKIM/DMARC records regardless.
Practical Workflow #3: Automated QA Checks on Staging Deploy
This is the one I built most recently, and it’s genuinely saved me time on every project since. After a staging deployment, instead of manually clicking through a QA checklist:
Trigger: Webhook — fired by a deployment script when staging updates Node 2: HTTP Request — hits the staging site’s homepage, checks response code and load time Node 3: HTTP Request — checks the WooCommerce cart/checkout endpoints return valid responses Node 4: Code node — compares actual vs expected response codes across a list of critical URLs Node 5: If any check fails, send a Slack alert with the specific failing URL; if all pass, log success
This doesn’t replace manual QA on anything customer-facing or visually dependent, but it catches the “did the deploy actually break the checkout page” class of problem within seconds of deployment rather than whenever someone happens to notice.
Things That Don’t Work As Smoothly As You’d Expect
WordPress REST API pagination. If you’re pulling a large number of posts or orders, the default REST API response caps at 100 items per request. You need a loop (n8n’s SplitInBatches node works, but you have to manage the page query parameter manually) — this isn’t automatic.
WooCommerce REST API requires separate authentication. The WooCommerce REST API uses its own Consumer Key/Secret system (Settings → Advanced → REST API in WooCommerce), completely separate from WordPress Application Passwords. If your workflow touches both WordPress content and WooCommerce orders, you’ll be managing two sets of credentials.
Webhook reliability from Gravity Forms and similar plugins. These fire-and-forget webhooks don’t retry on failure by default. If your n8n instance is down for even a minute during a form submission, that submission’s webhook is gone. For anything business-critical, I’ve started also writing form submissions to a database table as a backup, independent of the webhook.
Is This Worth Setting Up?
If you’re managing one WordPress site with occasional content updates, honestly — no, this is overkill. Where this pays off is when you’re managing multiple sites, handling repetitive publishing or QA tasks, or need workflows that off-the-shelf plugins simply don’t offer (like the staging QA check above, which no WordPress plugin does out of the box).
For me, running n8n locally connected to Ollama and WordPress has turned a handful of previously manual, error-prone tasks into things that just happen correctly in the background. That’s the actual value — not “10x productivity,” just fewer dropped balls.
Need help setting up automation workflows for your WordPress or WooCommerce site? Get in touch.